
Spring is a time for renewal and fresh starts. And after decluttering with spring cleaning, there’s no better way to spruce up a living space than to do so with fun, creative decor projects like the ones seen throughout our communities.
Here are some simple steps for making colorful kite crafts that will help bring some spring energy into the home:
What you will need:
Instructions:
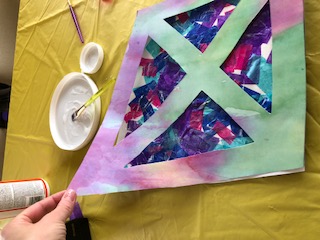
Step 1: Cut a sheet of paper to make square. Then, cut designs into it and decorate with colors using paint or markers. Set aside.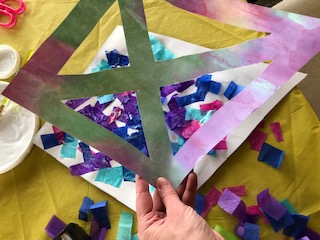
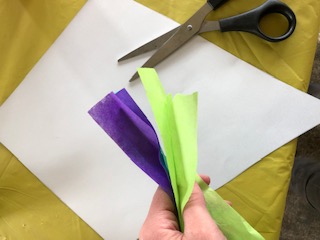
Step 2: Cut tissue paper into small pieces. Set aside.
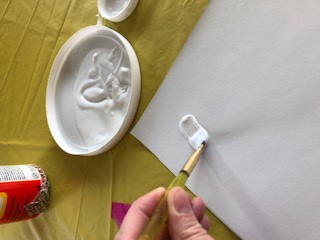
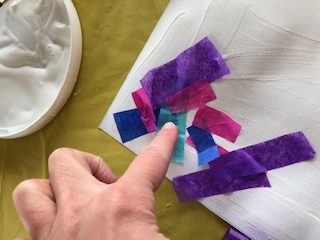
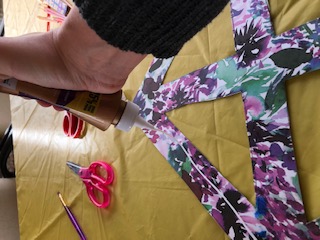
Step 3: Cut another sheet of paper to make square. Spread a thin layer of glue onto that paper with paintbrush, and stick tissue paper pieces to it.
Step 4: Once dry, put glue on the other sheet of paper (with designs cut into it), then place on top of the paper decorated with tissue paper, leaving a corner unglued.
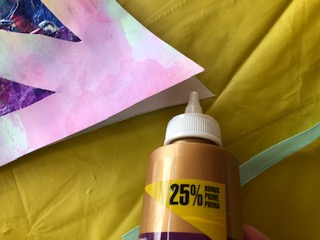
Step 5: Glue ribbon to the inside corner, and press together.

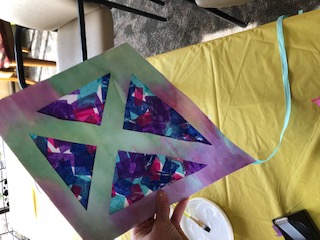
Step 6: Wait to dry and enjoy your kite craft.
Feel free to contact us for any future resident, current resident, or general inquiries.